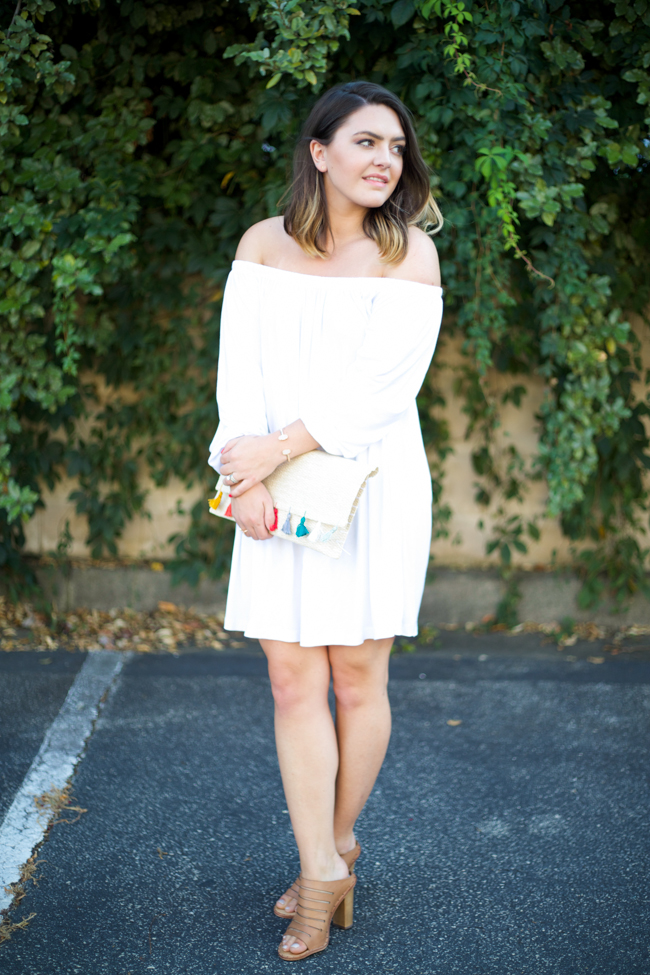






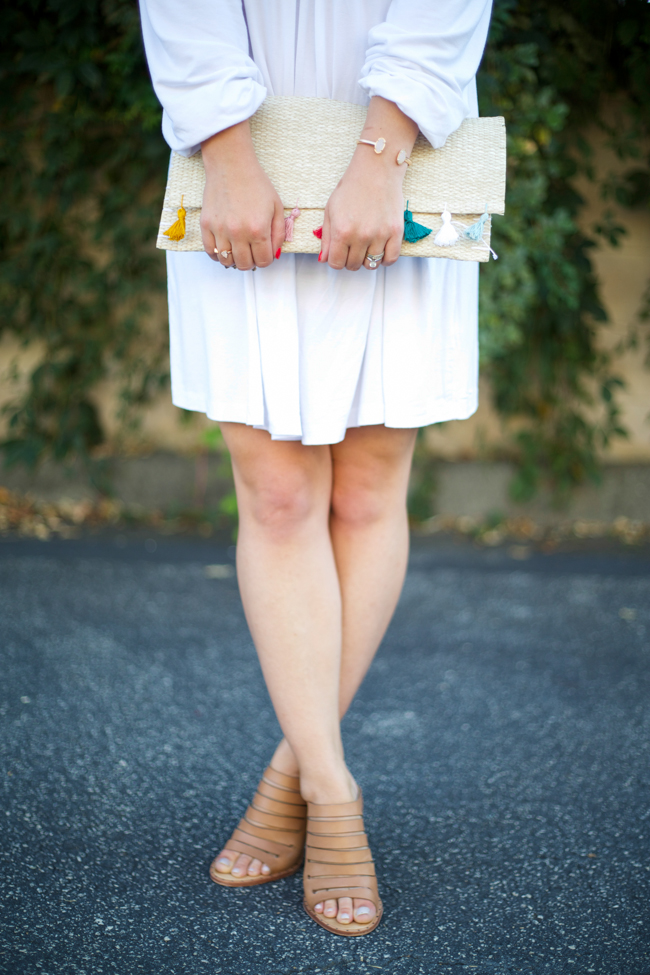
White Off Shoulder Dress ($22!) | Tan Laser Cut Mules | DIY Mini Tassel Clutch (continue reading for tutorial) | Kendra Scott Cuff
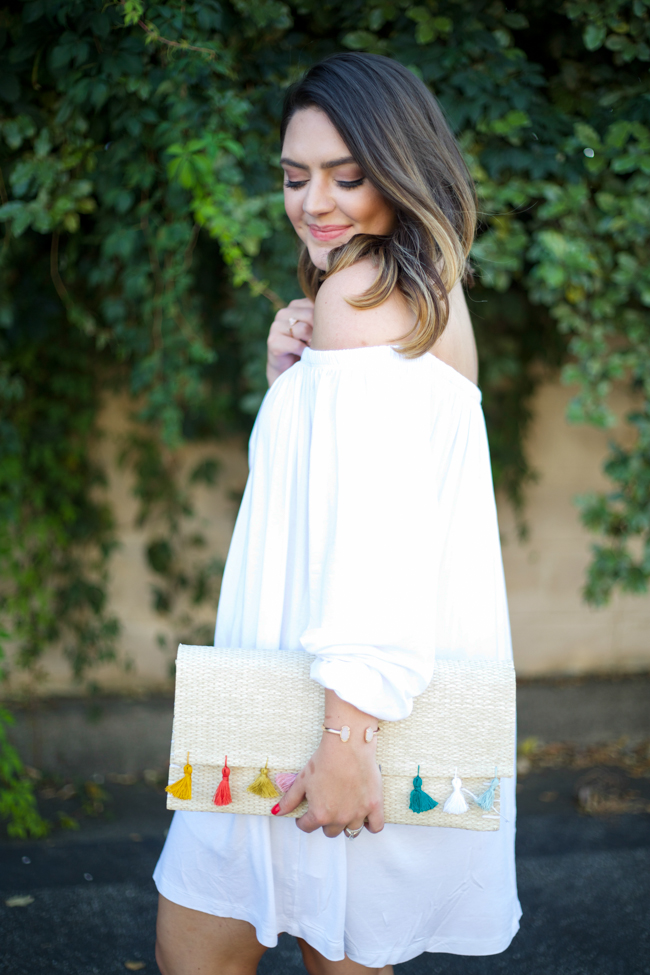
I absolutely love this dress! I bought it for our Hawaii trip and didn’t end up liking the photos I shot in it. I wanted to keep it simple, but add just a pop of color, so I made this little straw clutch from a placemat an added colorful mini tassels to it. Overall, I’m very happy with the way the clutch came out and it’s been holding up quite well.
Continue reading for a tutorial on how to create this DIY mini tassel clutch.
DIY Tassel Clutch
Materials needed:
1 placemat (I chose a straw material, but I’ve done this several times with other placemats)
Liquid stitch or other fabric glue
9 mini tassels (DIY or purchased. You can use more as desired.)
Scissors
Embroidery thread or yarn needle
Hanger clips or clothes pins
Step 1.
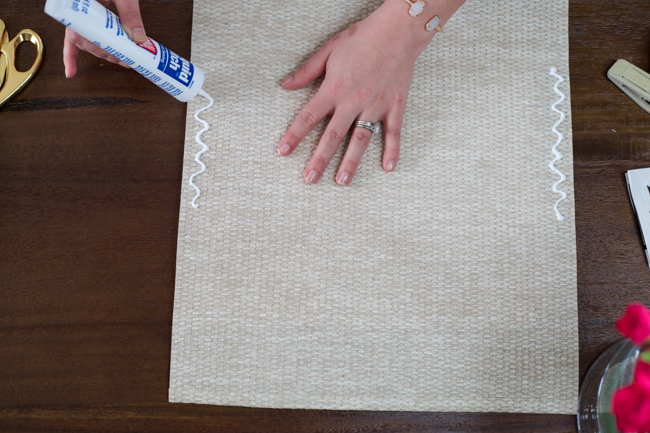
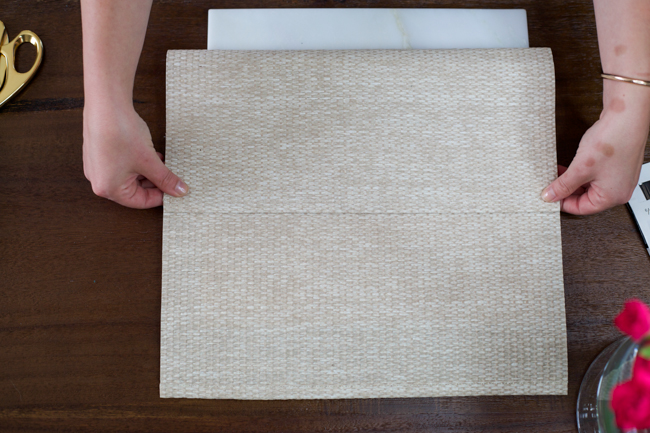
Fold placemat into thirds. Sections can be equal, if desired. Try folding your placemat with different spacing to see what style you like. Glue bottom two sections together along the sides, leaving one section open to create the pouch.
Step 2.
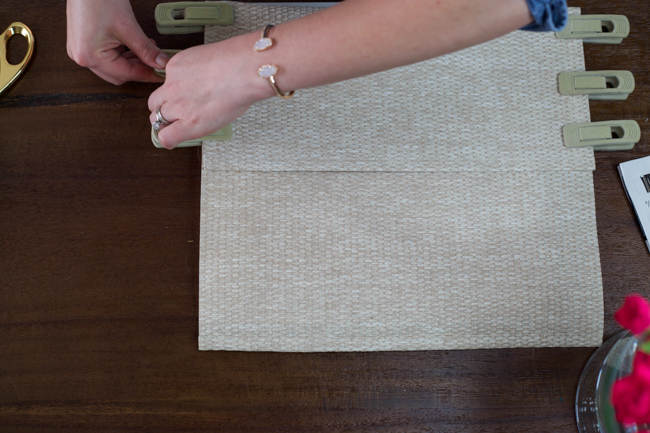
Press glued edges together (seen above), then clip glued edges together (seen below). I used velvet hanger clips because I had them on hand and they actually worked perfectly. If you have clothes pins or something that should work as well. Let glue sit for at least 30 minutes.
Optional: paint your nails and play with makeup samples while you wait. See step 4 and 5 photos if you’re confused.
Step 3.
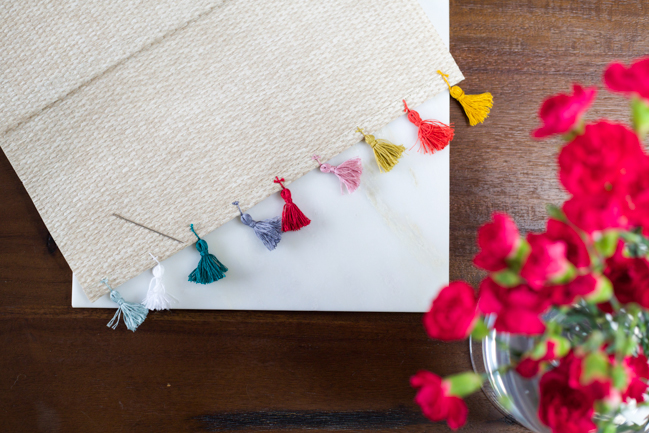
Attach tassels to the front flap of the clutch. I placed my tassels about 2 finger widths apart. You can do this step while the glue is drying, but I did mine the next day.
PS – I made my own mini tassels, taking the color inspiration from this tassel bedding from Anthropologie. They really aren’t that hard to make, but you can certainly use purchased tassels if you can find them. I shot a tutorial for the mini tassels, but you can find them all over the interwebs. If you want the mini tassel tutorial I shot, let me know. It was just too long to roll into this one.
Step 4. (optional)
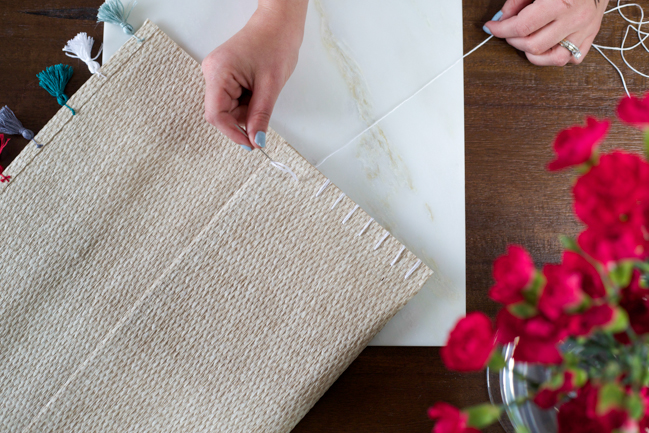
I wanted for my clutch to have a little extra detailing so I added some stitches along the side for a little more character.
Step 5.
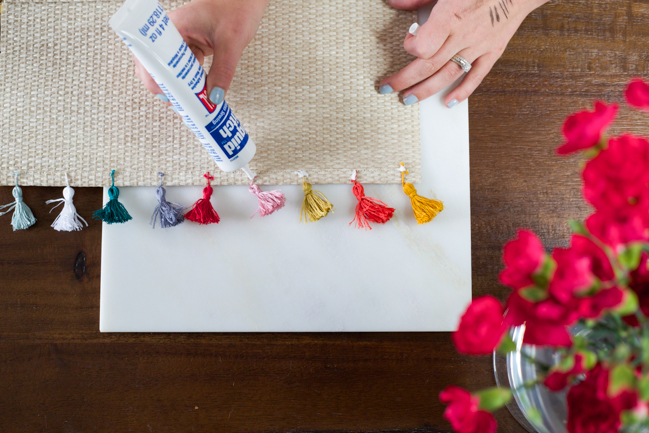
Dab a little glue on the knots where you tied your tassels to the clutch for added security. Make sure you leave the clutch open until the glue is most definitely dry or you’ll glue your clutch closed (whoops!). If you added stitching to the side of your clutch, make sure you glue your knots there too so they don’t come loose.
Enjoy!
Sharing is caring. Did you enjoy this outfit post and tutorial? Pin it using the hovering “pin it” button or share on your favorite social channels using the social media icons below this post.
Happy Thursday!

Cute outfit but even cuter DIY! I’m loving tassels on everything, I’ll have to give this a try!
Xx Taylor
http://lightscameracatwalk.com