I’m obviously not an expert in beauty, but I am a little bit of a makeup hoarder and I’ve worked out a pretty good routine for doing my makeup day-to-day. As much as I like to experiment with different looks, I tend to come back to this general routine and mostly just mix up the lip color.
I get lots of comments about my “fresh face” makeup so I thought I’d share my typical fresh face makeup routine. I trade out products often, but mostly keep the steps the same. I’m definitely hoping to start experimenting with more dramatic looks, but I think this will remain my main routine for a while. Keep reading for all the steps (and products) I followed to create this look.
PREP
I did a full skincare routine (including moisturizer) to prep for this look and followed it up with this Make Up For Ever primer. While I didn’t mention it in my Best in Beauty: Primer Edition post, it’s been my preferred primer in the recent weeks. It’s lightly tinted and gives the skin a nice even tone to start.
[show_lookbook_widget id=”268843″]
FOUNDATION
I used L’Oreal Infallible Pro-Matte foundation in 102 Shell Beige all over my face using a damp beauty blender. I then used Maybelline Fit Me foundation sticks in 115 (highlight areas), 330 (contour areas), and 130 (other areas) and blended again with beauty blender.
I used the Milani Tantastic bronzer on a Sephora contour brush to bronze a little and didn’t use anything else to contour my cheeks.
After I had my foundation the way I wanted, I used Maybelline Fit Me concealer in 115 to highlight the under eye area, the bridge of my nose, and anywhere else that needs a little brightening. I usually tap the concealer in lightly with my fourth fingers, then blend out with the damp beauty blender. I’ll take whatever’s left and use it as a primer on my eyes.
To set the under eyes, I used my go-to powder, Rimmel London’s Stay Matte powder in transparent on a Real Techniques setting brush. I took the excess and lightly set around my nose.
For my cheeks I used IT Cosmetics blush on an old Bare Minerals face brush.
[show_lookbook_widget id=”268860″]
EYES
Lately I’ve been using Milani’s bronzer (above) on a tapered blending brush (mine is from a kit, but this is a similar option that’s less than $5) as a transition shade in my crease. Maybe you shouldn’t use a metallic/shimmery shade in your crease, but I like it.
I picked up a Clinique bonus back in October when my mom was visiting (fun fact: the first makeup I owned was Clinique my mom bought me) and have been using several of the shades from the shadow palette nonstop. They’ve lasted really well and the colors are beautiful. The palette isn’t available, but the colors can be found in two quad eyeshadow palettes (see names below). When I’m in a hurry or feeling lazy (let’s face it, that’s most of the time), I just use the same tapered blending brush for my whole eyes. It’s worked so far!
Outer corners – matte brown (teddy bear quad)
Inner corner – pearly white (morning java quad)
Center of lid – mustardy metallic gold (morning java quad)
The only eyeliner I trust is Kat Von D’s tattoo liner in trooper, so naturally I used this for a subtle wing.
For mascara, I started with IT Cosmetics Tightline, then used Too Faced Cosmetics Better Than Sex mascara on my top lashes only. I hate it when my lower lashes give me little black spots under my eyes, so I’ve found that using the Tightline primer (in waterproof) is just enough.
[show_lookbook_widget id=”268856″]
BROWS
Brushed with spooley, lined with Anastasia Beverly Hills Brow Wiz in dark brown, brushed again, filled in with Brow Wiz. I used a little bit of Anastasia’s Dipbrow Pomade in medium brown on an angled brush to fill in. Then I set every thing with Eyeko Brow Gel (the bomb dot com). Don’t let the lack of words here fool you, this step can be very time-consuming.
I don’t always do this step, but before I moved on to the next step I used IT Cosmetics Bye Bye Under Eye Corrector in light (gosh, can you tell I love them?) to clean up my brown bone and the top of my brow area. I think moving forward I’m going to do this every time.
[show_lookbook_widget id=”268864″]
LIPS
Before I started on my lips, I took the beauty blender with leftover foundation and just went over my lips to smooth out the color. I then lined with Rimmel London Exaggerate Lip Liner in natural. Then I used Covergirl Colorlicious lipstick in honeyed bloom 245 all over. This is one of my favorite nudey pink lip combos and I think it’s going to be one of my go-tos this spring.
[show_lookbook_widget id=”268867″]
FINISH
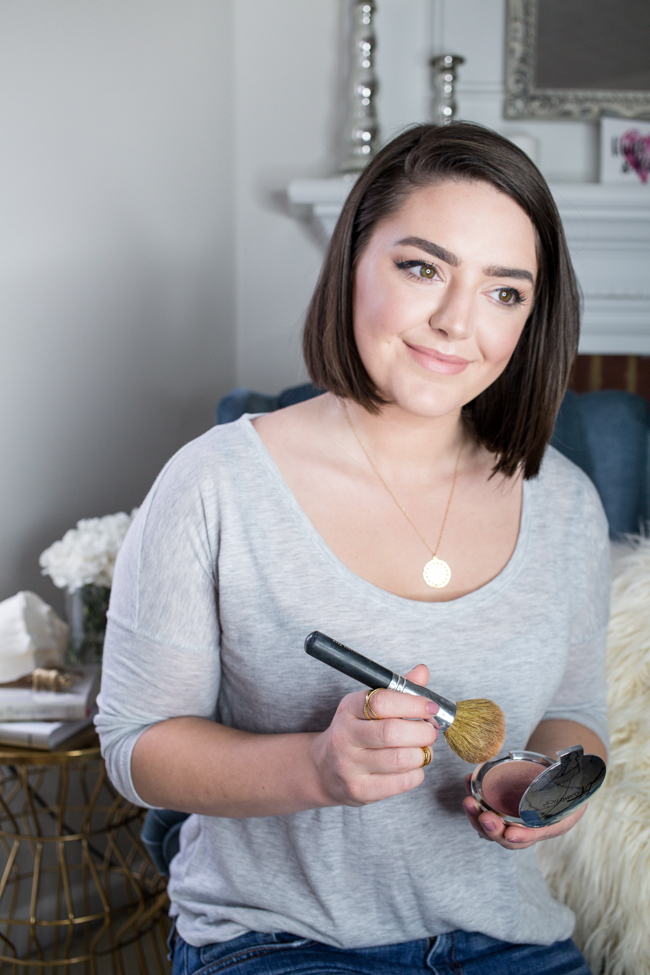
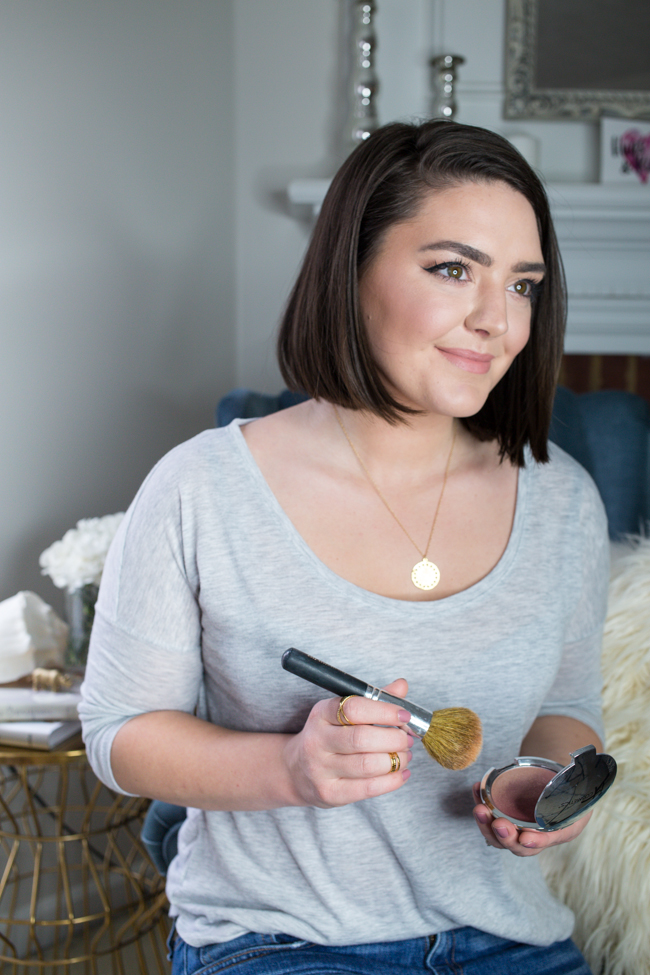
To wrap the look up, I took the same setting powder from above on an ELF kabuki brush (best drugstore kabuki by far) and set the look. Then I took the highlight from the IT Cosmetics Brightening Face Disk on the small end of the Complexion Perfection Brush to highlight my cheekbones, nose, cupid’s bow, and brow bone.
[show_lookbook_widget id=”268871″]
 And that’s the look! I know it’s not as useful as, say, a video. But I wanted to get these products out there to show my real face routine. I like my routine because I’ve found some super affordable options and have carefully chosen the items that I think are worth a little extra moolah.
In other news, I’m sporting a new haircut now. I had grown really attached to my asymmetrical lob, but decided it was time for a change as I’d had that cut for almost a year. I went for something that was a little bit more of a blunt bob. There’s still a slight angle in there but not like there was before. It’s a bit shorter than I had anticipated – I can’t really do a ponytail right now – but I can deal. When I do put my hair in a low pony now, it feels and looks about like the bristles in a flat stippling brush (insert crying/laughing face emoji). I’ll definitely be sharing some short hair tips and tricks soon!
Happy Tuesday!
xo,
[signature]
In love with your new do girl!! Absolutely gorgeous!
Xx Taylor
http://lightscameracatwalk.com
Thanks, Taylor!! I just have to figure out how to style it now 🙂