Well, it’s that time of year! The holidays are upon us and that means it’s time for holiday cards. I have a secret though…this is our fifth Christmas as a married couple (and our eleventh as couple…eesh) and we have never actually done holiday cards. It never seemed quite personal enough to me to not include a photo and, believe it or not, N and I both hate having our pictures taken. I’m learning, as I must, but Nick is still as hesitant as he has always been. This year though, I felt that it was important to take a family photo so, being the trooper that he is, N endured not just one, but two photo shoots on the other side of the camera. Our first shoot went okay, but the images wouldn’t import to my computer. My computer said that the images were in an unrecognized format. I had never had this happen, so I assumed the files were just corrupt. I later discovered that I just didn’t have any space on my laptop, but not before we did our second shoot. It’s all well and good though because I actually had more fun and like our images better the second time around.
Note to self: get some more external hard drives and stop storing everything on your computer.
We actually had a fairly decent experience given that this was also our first tripod-and-remote-only session and his first session as a subject. But we discussed some things that we think would lend to a better shoot in the future and wanted to share them with you. If you want to know more about this design and don’t care about how to take your own photos, skip to the end. I’ll still love you.
How to Take Your Own Holiday Photos
1. Wear Something Comfortable
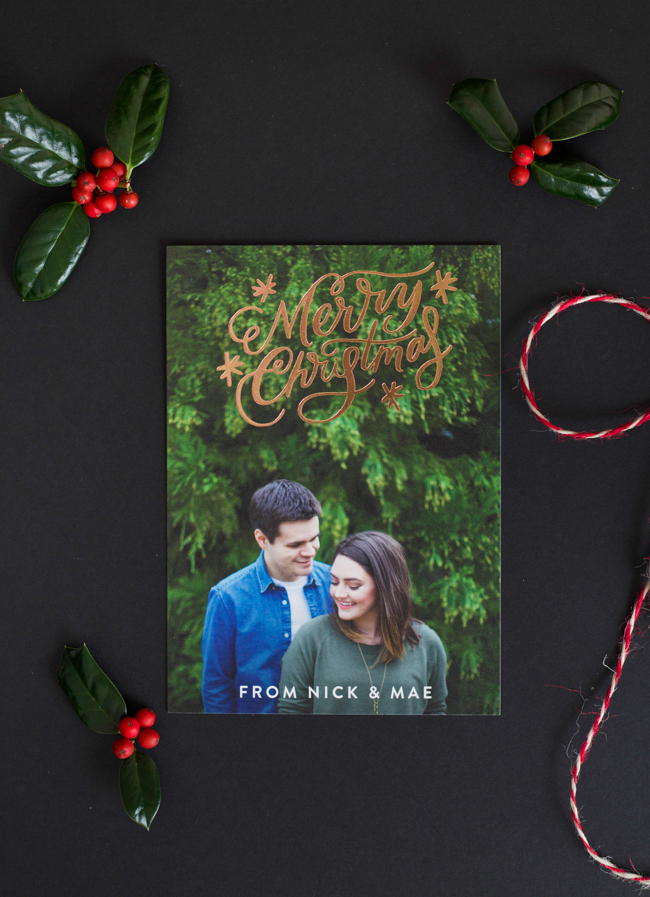
Comfortable does not necessarily equal casual. But for us, we felt most at ease in casual clothes – especially given that we took turns running back to the camera to see what type of image we got. I wore my favorite sweater and Nick wore his trusty denim shirt. I originally had my heart set on a formal holiday shoot (suit and tie for Nick and a floor length gown for me), but we changed our mind last minute. I’m not really sure what made us change our minds, but I like the casual look. We were comfortable laughing together and joking around. Which leads me to our second tip.
2. Don’t Be Afraid of Movement
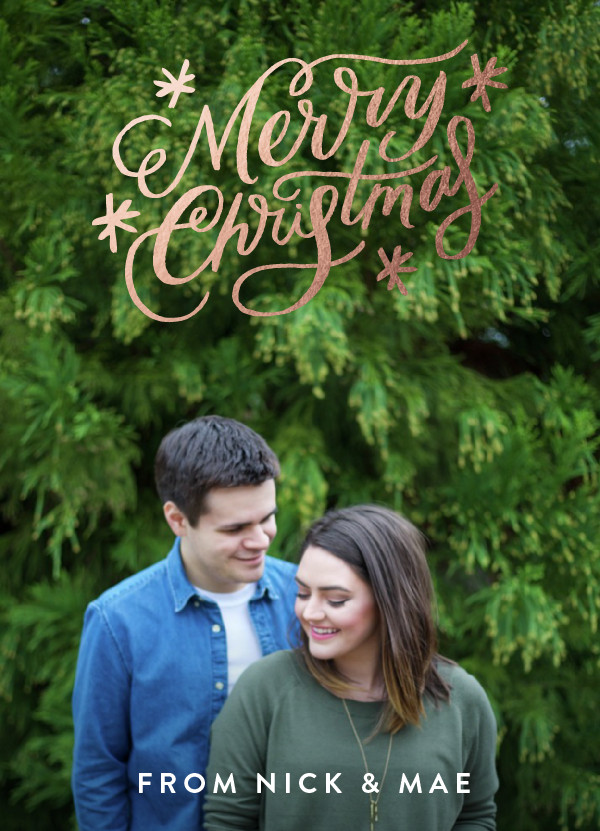
Most people would probably agree that it doesn’t look natural to hold your breath and pose. That’s why we don’t typically like photos where someone sucks in and smiles for the camera. It looks awkward and makes the viewer uncomfortable. Something we learned early on in the lifetime of Mae Amor is that movement actually creates a beautiful image. Walking photos and “look backs” are some of my favorites. These were basically out for a couples tripod photoshoot, so we just tried to laugh, relax, and have a good time. We were then able to capture our natural smiles. We had several other contending photos that had a clearer image, but we agreed that this image felt most like us.
3. Emotion Trumps Focus
This is basically covered in the previous point, or maybe this is the reason for the previous point, but still worth mentioning. Movement sometimes is hard to capture in focus, but if you are able to snap that child giggling or a brief kiss on the cheek, your image will be beautiful and moving – in focus or not.
4. Test Your Gear
If you are taking your own holiday photos, there’s a good chance you’ll be using a tripod. I think it’s best to invest in a decent tripod and a remote as well. Most cameras have timer capabilities, but (as someone who has tried both) I think it’s way easier to to just use a remote. You can snap 100 photos in the time it would take you to get five with the timer. If you don’t take photos often but will be shooting in manual, brush up on ISO, aperture, and shutter speed before you go. If you’re shooting in auto, it’s still wise to play with your camera even for a minute just to get a refresher. Either way though, make sure you test your setup before you grab the family and head out to your location. If you don’t, you might get frustrated with your gear or yourself and this can make the entire situation less enjoyable. When people are stressed, it shows. So do yourself a favor and make sure you know how everything works before you go.
5. Know What Type of Image You Want
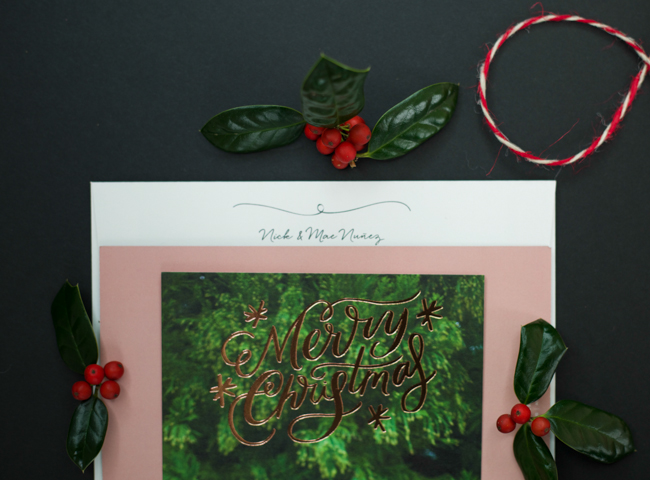
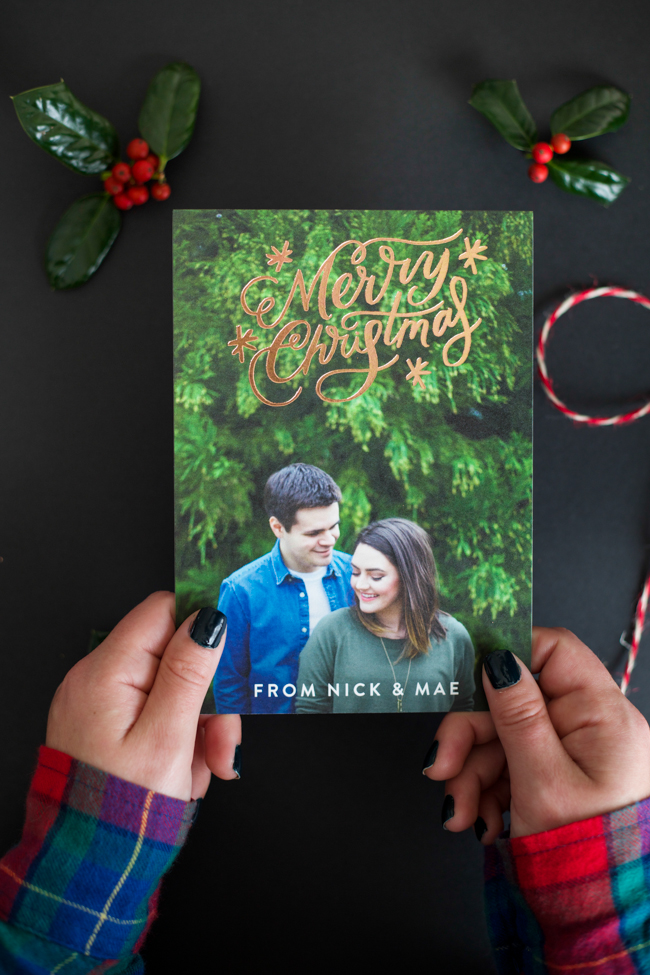
Before N and I ever set out on our first shoot (even before we decided to go casual), we spent some time on Minted looking at the different card designs and narrowed it down to a couple. We both loved the foil options and decided to pick one that had the design at the top. This made it much easier to get the image we wanted because we knew that we needed some space at the top of the image. If you’re going to do a couple different card styles, make sure you take enough images to suit each style.
Above all, and as you’ve probably guessed, our biggest tip is to just have fun and try to remember the reason you celebrate. If you are experiencing joy during your shoot, you can pass that joy onto your loved ones when they see your lovely photos.
About this design:
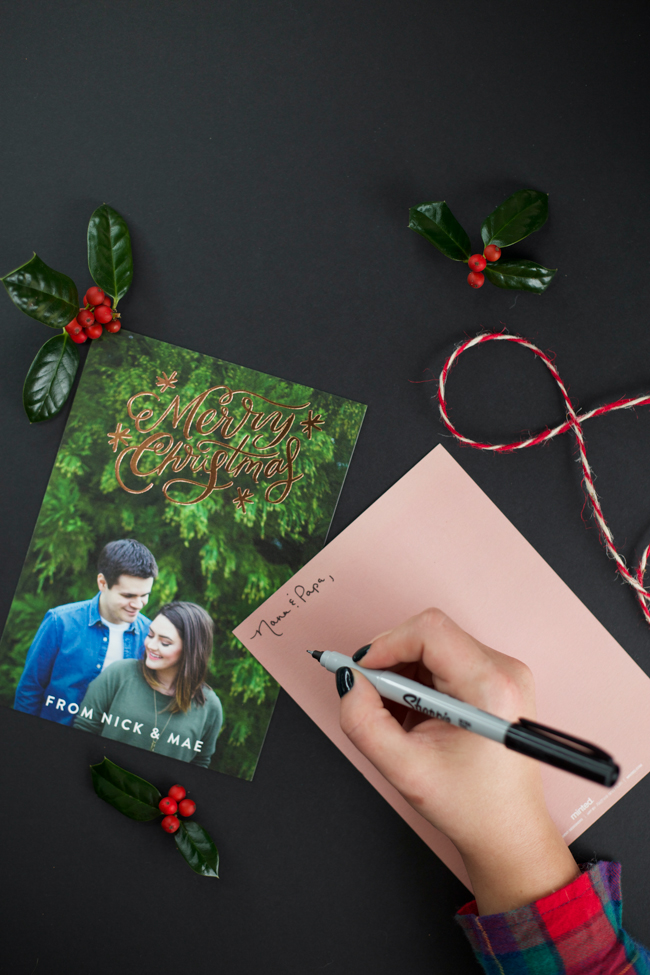
We chose the Classically Scripted Christmas Foil-Pressed Holiday Cards in rose gold (c/o Minted). We debated on whether or not to choose a card that said “Happy Holidays” or “Merry Christmas,” but we celebrate Christmas and were in love with this design. We also opted to have the back of the cards in solid rose with no text so that we could write personal notes to our friends and family members. Finally, we had our address pre-printed on the envelopes to save a step or two. You can also have your addressee’s information printed, but we decided to handwrite that as well. We are so pleased with our cards and can’t wait to send them out!
Have you ever taken your own holiday photos? What are your tips?
xo,
[signature]
Want to order your own minted cards? Enter below for a $125 certificate to use on the site.
$125 to minted
This post is sponsored by Minted. All opinions are my own. Thanks for supporting the companies and brands that keep Mae Amor online.
such good tips! we just ordered our cards yesterday. I have been using tinyprints, but will def look at using minted next year!
elle
Southern Elle Style
omg those cards are so adorable!!! great job!
xoxo, Preeti
http://www.ninesto5.com
These cards are so beautiful!! I’m sure that everyone who receives it is going to fall in love with it!
xx, Bri || http://www.Neutral2Neon.com
Awe, I love it! Your cards turned out amazing!
xo Rachel
To Hell in a Handbag
Your cards are beautiful!! These are such great tips for making your own cards, thanks!
Charlene xo
The Frugal Fashionista
You did such a great job on these holiday cards! Wish we could get started on some—-maybe next year 😉
I love love your Christmas cards! The card design is one of my favorites and I love the photo you chose. They are the Best!
Lovely photo to be quite frank & I love that you did most of the hard stuff on your own. Thanks for sharing Minted with us! I’ll have to give it a go xx, adaatude.com
These are so beautiful! Loving that shot! its perfect!
Sportsanista
These turned out great! I wish we had time to do Christmas cards!
xx,
Amanda || http://www.fortheloveofglitter.com