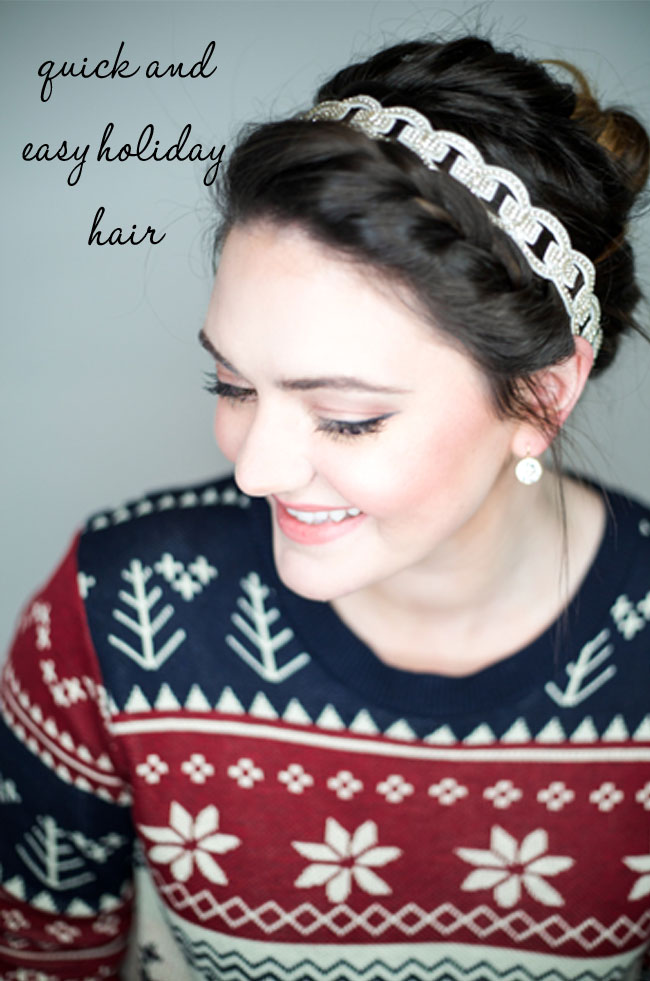
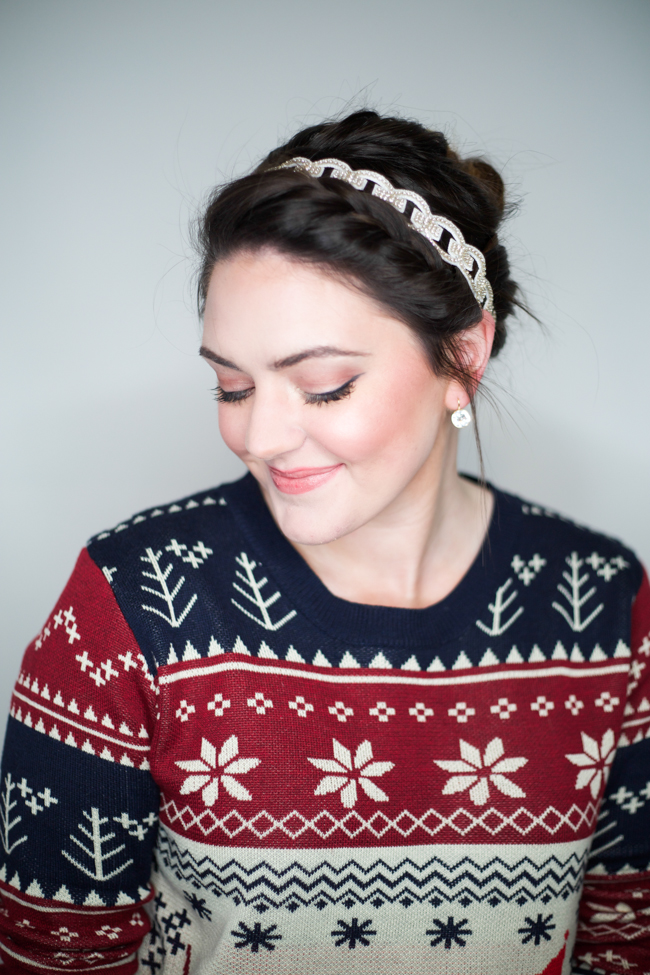
Quick and Easy Holiday Hair Tutorial
Merry merry Christmas eve! If you’re anything like me, you’re a planner. I plan my looks weeks in advance. I’m sure this makes it seem like I’ve got everything together, but I don’t. I plan ahead then change plans last minute. I always do and probably always will. So one thing I can almost count on is that I’m not going to do my hair as a planned for Christmas and I’ll probably need a quick and easy backup plan. This look has been my go to lately because it’s sooo easy. It literally takes me about 5 minutes. I’ve gotten a lot of compliments on this look as of late so I figured I’d help you all achieve a similar look.
Here’s what you’ll need:
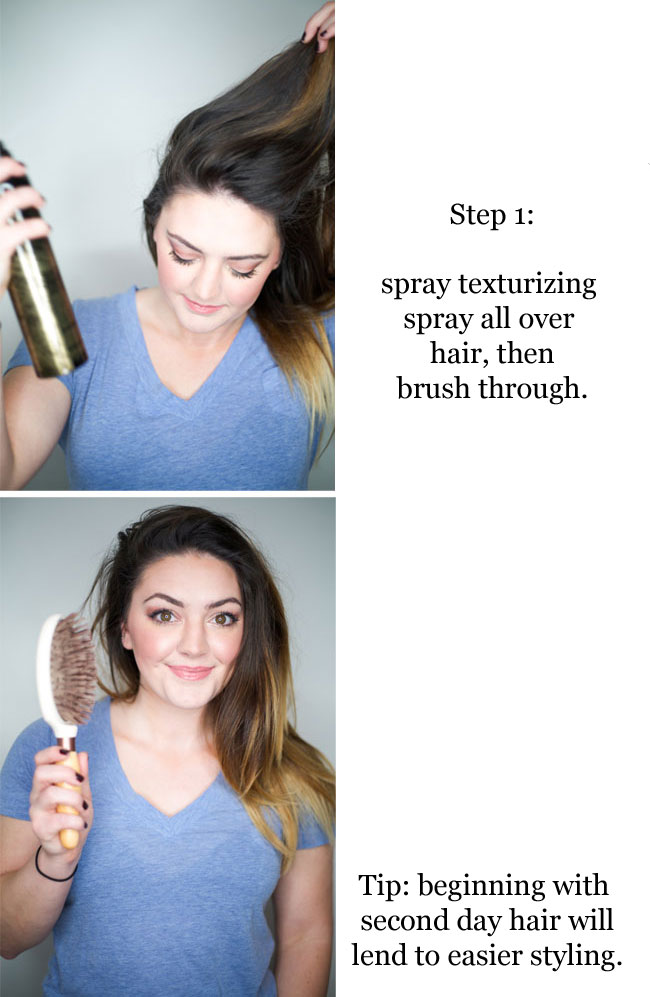
- Texturizing spray (I use Oribe dry texturizing spray)
- A hair brush (I used ecotools sleek and shine finisher – c/o via Influenster)
- Bobby pins (6-10)
- A headband (a stretchy one like this one or a regular headband with a bow or something will work perfectly)
- Teasing comb
- A hair tie
- Hairspray (I use Macadamia Natural Oil control hairspray)
- A Christmas sweater (optional – but truly enhances the experience)
- 10-15 minutes (5 minutes if you’re a speed braider)
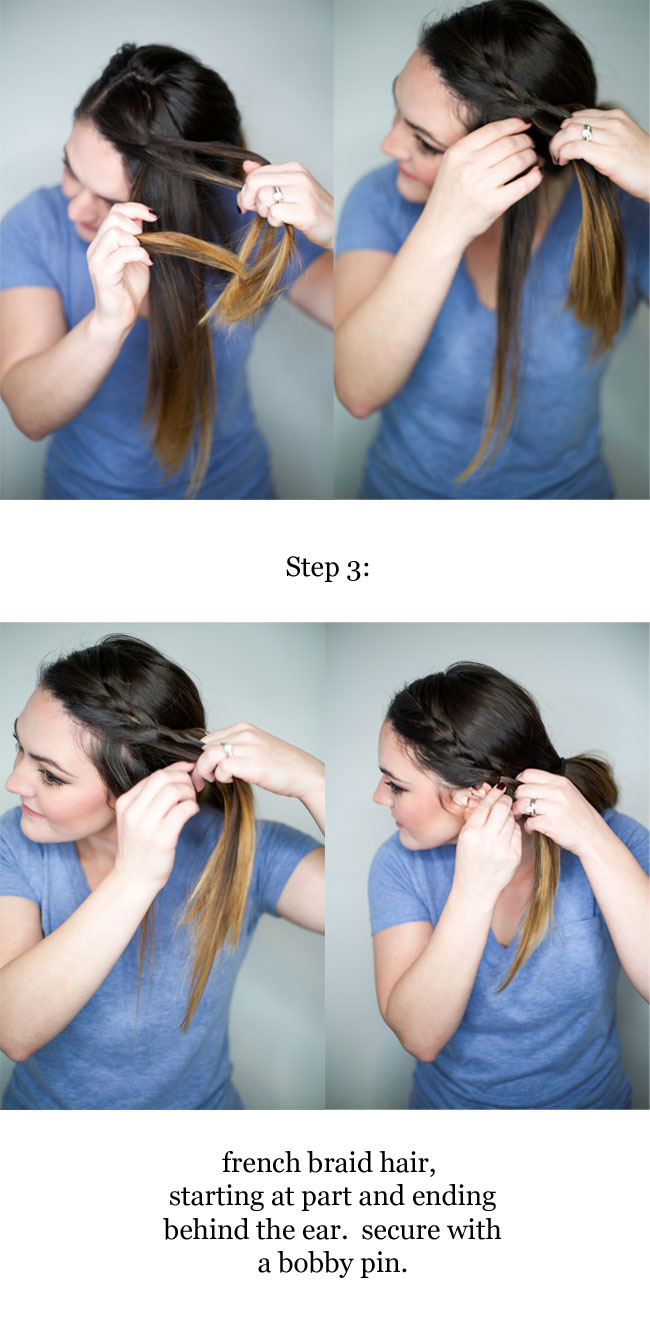
Important tip – I forgot to mention that you should only collect hair from the hairline. This will leave a little pocket in the back of the braid where the headband can rest.
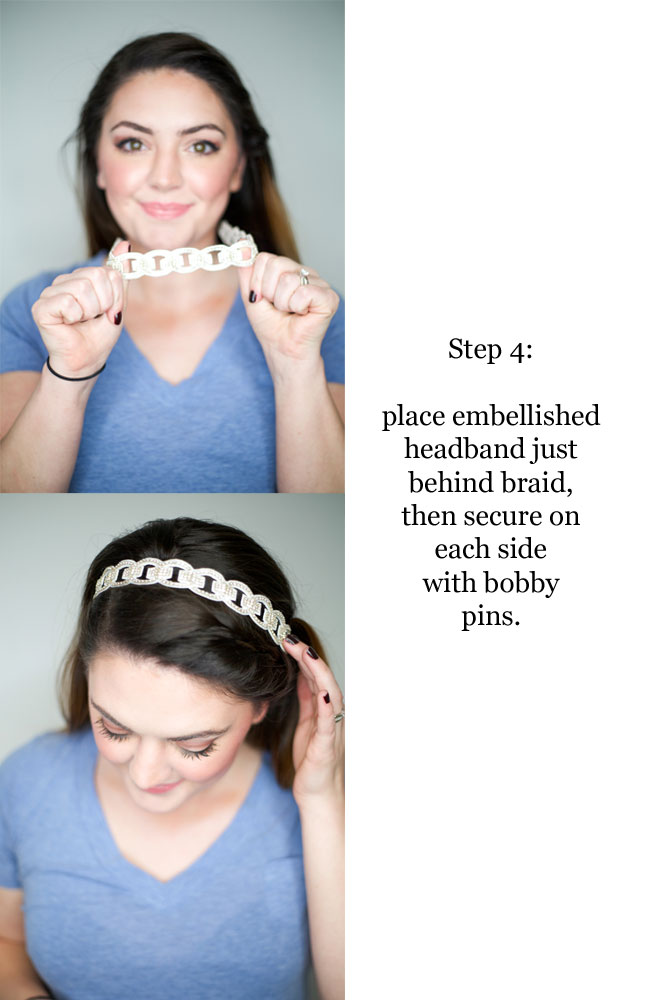
After step four, you might want to tease your hair. I only teased mine lightly and wished I had teased it more.
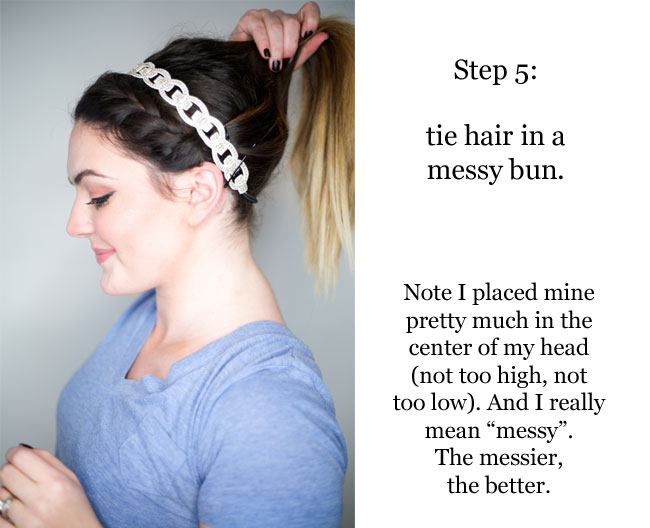
Also, if you’d rather not use a stretchy headband, you can skip step four and use a regular headband after you’ve created your bun.
I’m gonna throw in an optional step 7 here and that is to wear a Christmas sweater. Because Christmas sweater…
This look has been a popular one for me lately, primarily because it’s so fast and simple, but also because people seem to like it. Maybe it will become a favorite of yours. Here are a couple of “lessons learned” that may help your experience be even better:
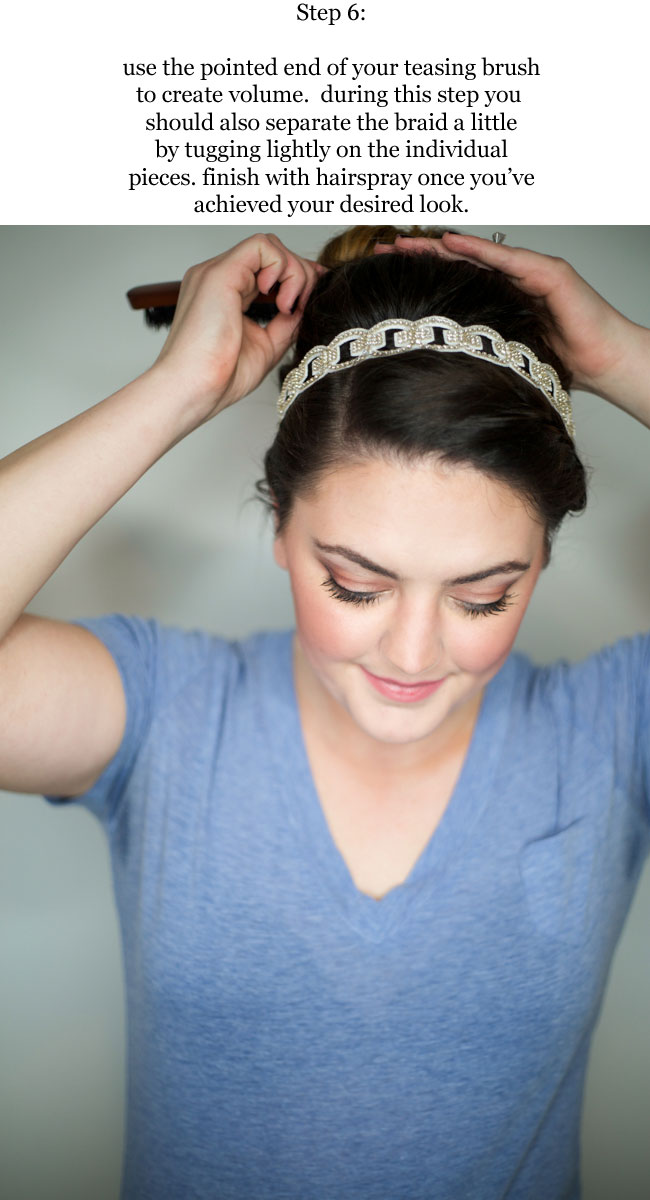
1. Tease a good bit after step 4.
2. Don’t hold back with separating the braid – I did more after I finished this shoot and loved it even more.
3. Use two bobby pins (bumpy sides facing your head) underneath your bun to create a little “tripod” (or bipod really) for the bun. This helps the bun stay in place and maintain volume.
4. As mentioned above, you should only gather hair from the front when you are doing your french-ish braid.
5. This look is great for second day hair (or third or fourth). If you’re starting with clean hair (or if your 2nd day hair needs a little oomph), consider adding a dry shampoo for a little more texture.
If you test this out, let me know! I’d love to see how it goes. This is my first hair tutorial, so I hope it was not too painful to follow.
Wearing:
Sweater | Headband and Earrings c/o Accessory Council
Happy holidays, my loves!

Cute!
How I miss being able to do different hair styles to my long hair!